
Irresistible Snowball Cookies
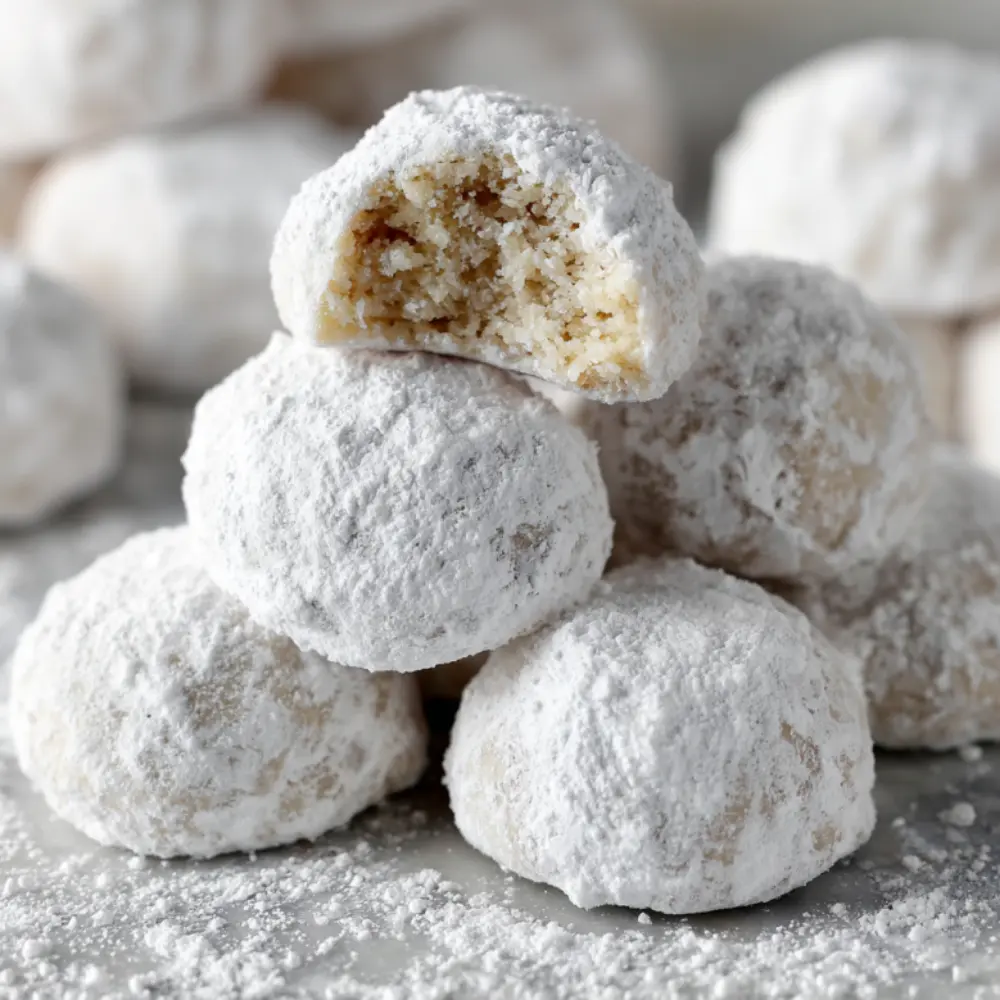
Few holiday treats are as charming and nostalgic as Snowball Cookies. These little bite-sized delights also known as Russian Tea Cakes or Mexican Wedding Cookies are melt-in-your-mouth wonders rolled in powdered sugar until they resemble fluffy snowballs.
Their buttery, nutty flavor paired with that soft, crumbly texture makes them a festive favorite for Christmas cookie platters, winter gatherings, or simply enjoying with a hot cup of coffee.
What makes Snowball Cookies so special is their simplicity: a handful of pantry staples like butter, flour, sugar, and nuts come together to create something truly magical. Once baked to a delicate golden hue, they’re coated not once, but twice, in powdered sugar, giving them that iconic snowy look and irresistible sweetness.
Whether you’re baking for family traditions, gifting to friends, or just craving a cozy treat, Snowball Cookies are a timeless recipe you’ll want to make again and again.
Ingredients List
1 cup unsalted butter, softened – The foundation of flavor, providing richness and that essential melt-in-your-mouth quality that defines exceptional snowball cookies
1/2 cup powdered sugar (plus 2-3 cups more for rolling) – Creates sweetness without grittiness, ensuring smooth texture and that signature snowy coating
1 teaspoon vanilla extract – Adds aromatic depth and enhances the overall flavor complexity, elevating these treats beyond ordinary butter cookies
2 cups all-purpose flour – Provides structure while maintaining the delicate, crumbly consistency that makes snowball cookies so distinctive
1 cup finely chopped pecans or walnuts (optional) – Introduces nutty richness and textural contrast that transforms these cookies into gourmet delights
Pinch of salt – Balances sweetness and enhances all other flavors, a crucial element often overlooked in traditional recipes
Step-by-Step Instructions
Step 1: Preheat and Prepare Your Workspace
Heat your oven to 350°F (175°C) and line two large baking sheets with parchment paper. This temperature is crucial for achieving cookies that are perfectly set without becoming overly brown. Position your oven racks in the upper and lower thirds for even baking if you’re making multiple batches.
Pro Tip: Let your parchment paper warm slightly in the preheating oven for 30 seconds – this prevents the dough from sticking and ensures more uniform baking, resulting in snowball cookies with consistently perfect bottoms.
Step 2: Create the Perfect Dough Base
In a large mixing bowl, cream the softened butter and 1/2 cup powdered sugar using an electric mixer on medium speed for 3-4 minutes until the mixture becomes light, fluffy, and noticeably paler. This creaming process is essential for incorporating air, which creates the cookies’ signature tender texture that distinguishes exceptional snowball cookies from ordinary ones.
Add vanilla extract and salt, mixing until just combined. Gradually add flour, mixing on low speed until the dough just comes together. Avoid overmixing, which can result in tough cookies that lack the delicate crumb structure that makes snowball cookies so special.
Step 3: Incorporate Nuts for Added Texture
If using nuts, gently fold in the finely chopped pecans or walnuts using a wooden spoon or rubber spatula. The nuts should be evenly distributed throughout the dough without being crushed further, maintaining their ability to provide delightful textural contrast in each bite.
Expert Insight: Toasting your nuts for 5-6 minutes at 350°F before chopping intensifies their flavor and adds a delightful aromatic quality to your finished cookies, elevating your snowball cookies from good to absolutely irresistible.
Step 4: Shape Your Snowball Cookies
Using clean hands or a small cookie scoop, roll the dough into uniform 1-inch balls. Place them on the prepared baking sheets, spacing them about 1 inch apart. The cookies won’t spread much during baking, so this spacing is sufficient while allowing for proper air circulation.
For consistent sizing, use a kitchen scale to portion 1-ounce pieces of dough – this ensures even baking and professional-looking results that will impress your family and guests with their uniform appearance.
Step 5: Bake to Perfection
Bake for 12-15 minutes, rotating the pans halfway through for even browning. The cookies are done when they’re set and very lightly golden brown on the bottom. The tops should remain pale – overbaking will result in dry, crumbly cookies that lack the tender, buttery texture that defines perfect snowball cookies.
Allow cookies to cool on the baking sheet for 2-3 minutes before the crucial sugar-coating process. This brief cooling period ensures they’re sturdy enough to handle without breaking apart.
Step 6: Create the Signature Powdered Sugar Coating
While the cookies are still warm (but cool enough to handle), gently roll each one in powdered sugar. The residual heat helps the first coating adhere properly, creating that essential base layer. Once the cookies have cooled completely – about 20-30 minutes – roll them again in fresh powdered sugar for that thick, snow-white coating that gives these treats their iconic appearance and name.
Nutritional Information
Each snowball cookie (recipe yields approximately 36 cookies) contains:
- Calories: 85-95 per cookie
- Total Fat: 6.2g (primarily from butter and nuts)
- Saturated Fat: 3.1g
- Carbohydrates: 8.5g
- Dietary Fiber: 0.4g (higher with nuts)
- Sugar: 3.2g
- Protein: 1.1g (increased to 1.8g with nuts)
- Sodium: 15mg
Nutritional Highlights: Despite their indulgent taste, snowball cookies are relatively portion-controlled treats. The butter provides vitamin A and essential fatty acids, while optional nuts contribute healthy monounsaturated fats, vitamin E, and magnesium. The moderate calorie count makes them suitable for mindful holiday indulgence when enjoyed in reasonable portions.
Healthier Alternatives for the Recipe
Transform your snowball cookies into more nutritious treats without sacrificing their beloved texture and flavor. Replace half the all-purpose flour with almond flour to boost protein content and add subtle nutty undertones. This substitution reduces carbohydrates while increasing healthy fats and creating an even more tender crumb.
Consider using grass-fed butter for enhanced omega-3 fatty acids and richer flavor complexity. For those managing sugar intake, substitute the powdered sugar with a 1:1 powdered erythritol blend, which maintains the essential sweetness while reducing calories by approximately 40%.
Experiment with alternative nuts like chopped pistachios, hazelnuts, or even unsweetened coconut flakes for varied nutritional profiles and unique flavor combinations. Adding a tablespoon of ground flaxseed provides omega-3 fatty acids and fiber without noticeably altering the texture. For gluten-sensitive individuals, substitute the flour with a high-quality gluten-free flour blend that includes xanthan gum for optimal binding and texture retention.
Serving Suggestions
Present your snowball cookies on elegant tiered serving platters dusted with additional powdered sugar to create a winter wonderland effect that enhances their visual appeal. Pair them with premium hot chocolate, spiced chai tea, or rich espresso for a sophisticated flavor combination that highlights their buttery richness.
Create an impressive cookie gift box by layering snowball cookies between parchment paper in decorative tins, making them perfect for holiday gifting or potluck contributions. For special occasions, serve them alongside fresh berries and a light dusting of cinnamon for color contrast and complementary flavors.
Consider incorporating them into dessert boards with other bite-sized treats, creating variety while maintaining the elegant, snowy theme. For children’s parties, arrange them to resemble actual snowballs on dark plates, creating an interactive and visually engaging presentation that encourages excitement about these delightful treats.
Common Mistakes to Avoid
The most frequent error when making snowball cookies is using butter that isn’t properly softened, which prevents proper creaming and results in dense, heavy cookies instead of the desired light, tender texture. Butter should yield slightly to pressure but not be melty or greasy – achieving this takes about 30-45 minutes at room temperature.
Overmixing the dough after adding flour develops gluten strands, creating tough cookies rather than the delicate, crumbly texture that defines exceptional snowball cookies. Mix just until ingredients are combined, even if the dough appears slightly shaggy.
Rolling cookies in powdered sugar only once is another common oversight. The double-coating technique – once while warm, again when cool – creates that thick, professional-looking coating that doesn’t easily brush off. Skipping the second coating results in thin, patchy sugar coverage that diminishes both appearance and flavor impact.
Baking at incorrect temperatures or for too long transforms these delicate treats into dry, hard cookies. Watch carefully and remove them when they’re just set but still pale, as they continue cooking slightly on the hot pan after removal from the oven.
Storing Tips for the Recipe
Store completely cooled snowball cookies in airtight containers at room temperature for up to one week, layering them between parchment paper to prevent the powdered sugar coating from rubbing off. For longer storage, freeze unfrosted cookies for up to three months, then thaw and apply the powdered sugar coating just before serving.
The dough can be prepared up to two days in advance and refrigerated, though you’ll need to let it soften slightly before shaping. For ultimate convenience, shape the dough into balls and freeze them on baking sheets before transferring to freezer bags. These can be baked directly from frozen, adding just 1-2 extra minutes to the baking time.
To maintain the pristine appearance of stored cookies, reserve a small amount of powdered sugar for touch-ups before serving, as the coating naturally settles over time. Keep cookies away from humid environments, as moisture can dissolve the sugar coating and affect the texture.
Conclusion
These irresistible snowball cookies combine simplicity with sophistication, creating tender, buttery treats that embody the essence of holiday baking. With their melt-in-your-mouth texture, elegant appearance, and foolproof technique, they’re destined to become your go-to recipe for any special occasion or casual indulgence throughout the year.
Ready to create your own batch of these magical treats? Try this recipe today and share your results in the comments below – we’d love to hear about your variations and serving ideas! Don’t forget to subscribe to our blog for more irresistible recipes and expert baking tips delivered straight to your inbox.
FAQs
Q: Can I make snowball cookies without nuts? A: Absolutely! Snowball cookies are delicious with or without nuts. Simply omit the chopped pecans or walnuts from the recipe – the texture and flavor will still be exceptional, though slightly more delicate without the nutty crunch.
Q: Why do my snowball cookies fall apart when I roll them in powdered sugar? A: This usually indicates the cookies weren’t cooled enough before the first sugar coating or were overbaked. Ensure cookies are warm but not hot for the first coating, and completely cool for the second coating. Properly baked cookies should hold together well during the rolling process.
Q: Can I substitute different types of flour in this recipe? A: While all-purpose flour works best for traditional snowball cookies, you can substitute up to half with almond flour for a nuttier flavor and slightly denser texture. Avoid using cake flour, which will make them too delicate, or bread flour, which will make them tough.
Q: How far in advance can I make these cookies for a party? A: Snowball cookies can be made up to one week in advance when stored properly in airtight containers. For best appearance, do the final powdered sugar coating on the day of serving, as the coating can absorb moisture and lose its pristine white appearance over time.
Q: What’s the best way to ensure my snowball cookies have that perfect crumbly texture? A: The key is proper butter temperature and avoiding overmixing. Your butter should be soft enough to cream easily but not melted, and stop mixing as soon as the flour is incorporated. The creaming process and gentle handling preserve the delicate structure that creates the signature texture of perfect snowball cookies.

Irresistible Snowball Cookies
Ingredients
- 1 cup unsalted butter , softened – The foundation of flavor, providing richness and that essential melt-in-your-mouth quality
- 1/2 cup powdered sugar (plus 2-3 cups more for rolling) – Creates sweetness without grittiness, ensuring smooth texture
- 1 teaspoon vanilla extract – Adds aromatic depth and enhances the overall flavor complexity
- 2 cups all-purpose flour – Provides structure while maintaining the delicate , crumbly consistency
- 1 cup finely chopped pecans or walnuts (optional) – Introduces nutty richness and textural contrast
- Pinch of salt – Balances sweetness and enhances all other flavors
Instructions
- Step 1: Preheat and Prepare Your Workspace
- Heat your oven to 350°F (175°C) and line two large baking sheets with parchment paper. This temperature is crucial for achieving cookies that are perfectly set without becoming overly brown. Position your oven racks in the upper and lower thirds for even baking if you’re making multiple batches.
- Pro Tip: Let your parchment paper warm slightly in the preheating oven for 30 seconds – this prevents the dough from sticking and ensures more uniform baking.
- Step 2: Create the Perfect Dough Base
- In a large mixing bowl, cream the softened butter and 1/2 cup powdered sugar using an electric mixer on medium speed for 3-4 minutes until the mixture becomes light, fluffy, and noticeably paler. This creaming process is essential for incorporating air, which creates the cookies’ signature tender texture.
- Add vanilla extract and salt, mixing until just combined. Gradually add flour, mixing on low speed until the dough just comes together. Avoid overmixing, which can result in tough cookies.
- Step 3: Incorporate Nuts for Added Texture
- If using nuts, gently fold in the finely chopped pecans or walnuts using a wooden spoon or rubber spatula. The nuts should be evenly distributed throughout the dough without being crushed further.
- Expert Insight: Toasting your nuts for 5-6 minutes at 350°F before chopping intensifies their flavor and adds a delightful aromatic quality to your finished cookies.
- Step 4: Shape Your Snowball Cookies
- Using clean hands or a small cookie scoop, roll the dough into uniform 1-inch balls. Place them on the prepared baking sheets, spacing them about 1 inch apart. The cookies won’t spread much during baking, so this spacing is sufficient.
- For consistent sizing, use a kitchen scale to portion 1-ounce pieces of dough – this ensures even baking and professional-looking results.
- Step 5: Bake to Perfection
- Bake for 12-15 minutes, rotating the pans halfway through for even browning. The cookies are done when they’re set and very lightly golden brown on the bottom. The tops should remain pale – overbaking will result in dry, crumbly cookies.
- Allow cookies to cool on the baking sheet for 2-3 minutes before the crucial sugar-coating process.
- Step 6: Create the Signature Powdered Sugar Coating
- While the cookies are still warm (but cool enough to handle), gently roll each one in powdered sugar. The residual heat helps the first coating adhere properly. Once the cookies have cooled completely – about 20-30 minutes – roll them again in fresh powdered sugar for that thick, snow-white coating that gives these treats their iconic appearance.